Images are essential for enhancing your blog posts.
Visual content is easy to understand and also is more memorable than textual content. With the right images, your content will be more appealing.
The main problem that comes with adding images to posts is finding images, even though there are hundreds of websites selling graphics (or even giving them away for free).
We cannot just use someone else’s images as it can create legal problems and using tools like Photoshop is not an easy task.
When I started my blog, I started finding tools which let me create images for my posts. I had tried my hands at Photoshop and Corel Draw, but the only thing I know how to do is write (not draw).
One day while creating a presentation, I found the tool for all my image needs-PowerPoint.
It is not a new tool but it has lots of benefits (even over some of the more traditional tools like Photoshop).
Most of you have likely used PowerPoint once in your life for creating presentations.
Today in this post, I will be telling you how to create awesome looking images with PowerPoint for your blog posts.
Section 1 – Changing Export Resolution in PowerPoint
Although PowerPoint was created for presentations, it can be used to create good quality images as well. For getting good output resolution, you have to change some settings:
Note: I am using Windows 8.1 with the PowerPoint 2010 version, but the procedure is basically the same for all PowerPoint versions above 2003.
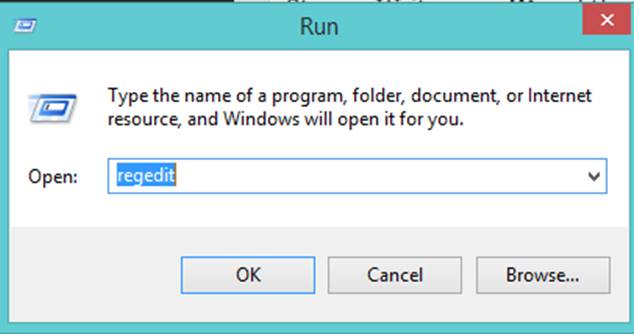
Step 1: Go to Start and then search for the “Run” program.

Step 2: Write “regedit” and then click on “OK”.
Step 3: Click on HKEY_CURRENT_USER – > Software -> Microsoft -> Office -> 14.0 -> PowerPoint -> Options.
Note: For the 2013 version of PowerPoint, click on 15.0 instead of 14.0.
Step 4: You will see many files on the right-hand side tab. Right click on the free space and click on New -> DWORD (32-bit) Value.
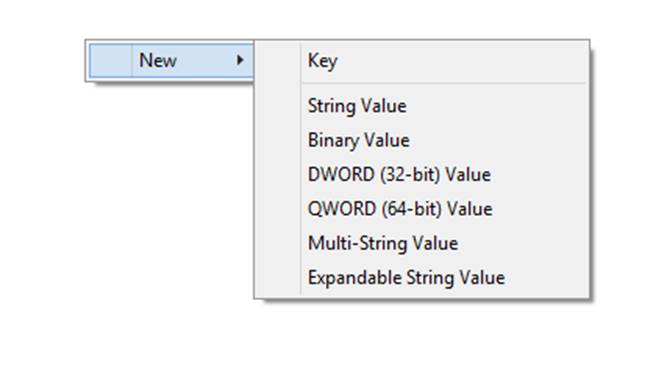
Step 5: It will create a new file. Now you have to edit this new file.
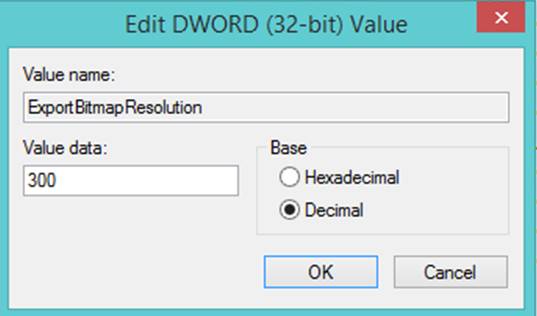
Step 6: Change the name of the file to “ExportBitmapResolution” and then right click on the file and choose “Modify”.
Step 7: In Value data, write “300” and in Base, choose “Decimal”.
Click “OK”.
You are all done with the first section.
Now the exported images will be in a high resolution and will not blur when zoomed in (to some extent).
Section 2 – Creating Images with PowerPoint
PowerPoint provides lots of shapes with which you can create amazing images for your blog posts. By using shapes, you can also create more shapes.
Follow this example:
Step 1: Start with a new “Blank Presentation” and then go to the “Insert” tab.
Step 2: Click on “Shape”, choose “Rectangle” and draw the shape to completely overlap the slide.

Step 3: Click on the slide and then go to the “Format” tab.
Choose “No Outline” for the “Shape Outline” option and choose any preferred color for “Shape Fill”.
Step 4: Now use these shapes and your creativity to draw on the slide. You can use as many shapes in your image as you want.
Step 5: After drawing your images, Press “CTRL + A” on your keyboard and then right click on any element of the slide.
Now click on “Group Elements”.
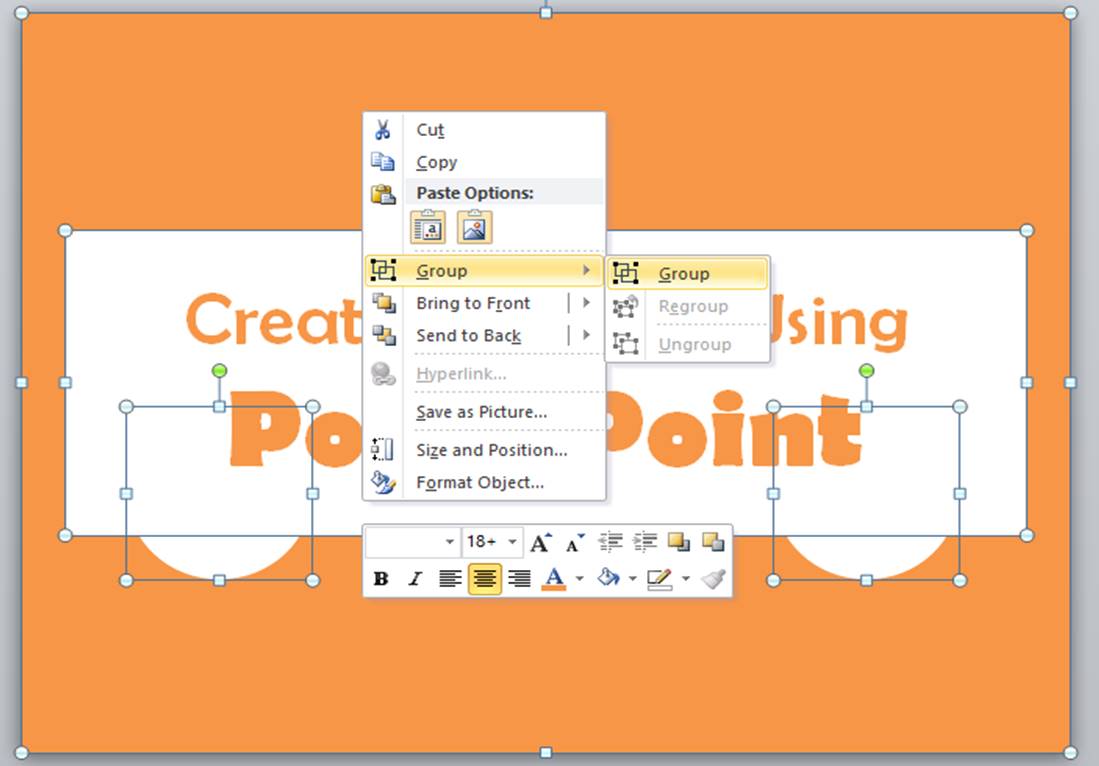
Step 6: Now just go the the “File” menu and click on “Save As”.
Save the file as a JPEG format with the name of your choice. While saving, it will show a pop-up. Choose “Current Slide Only”.
Here is the final result for the image created:
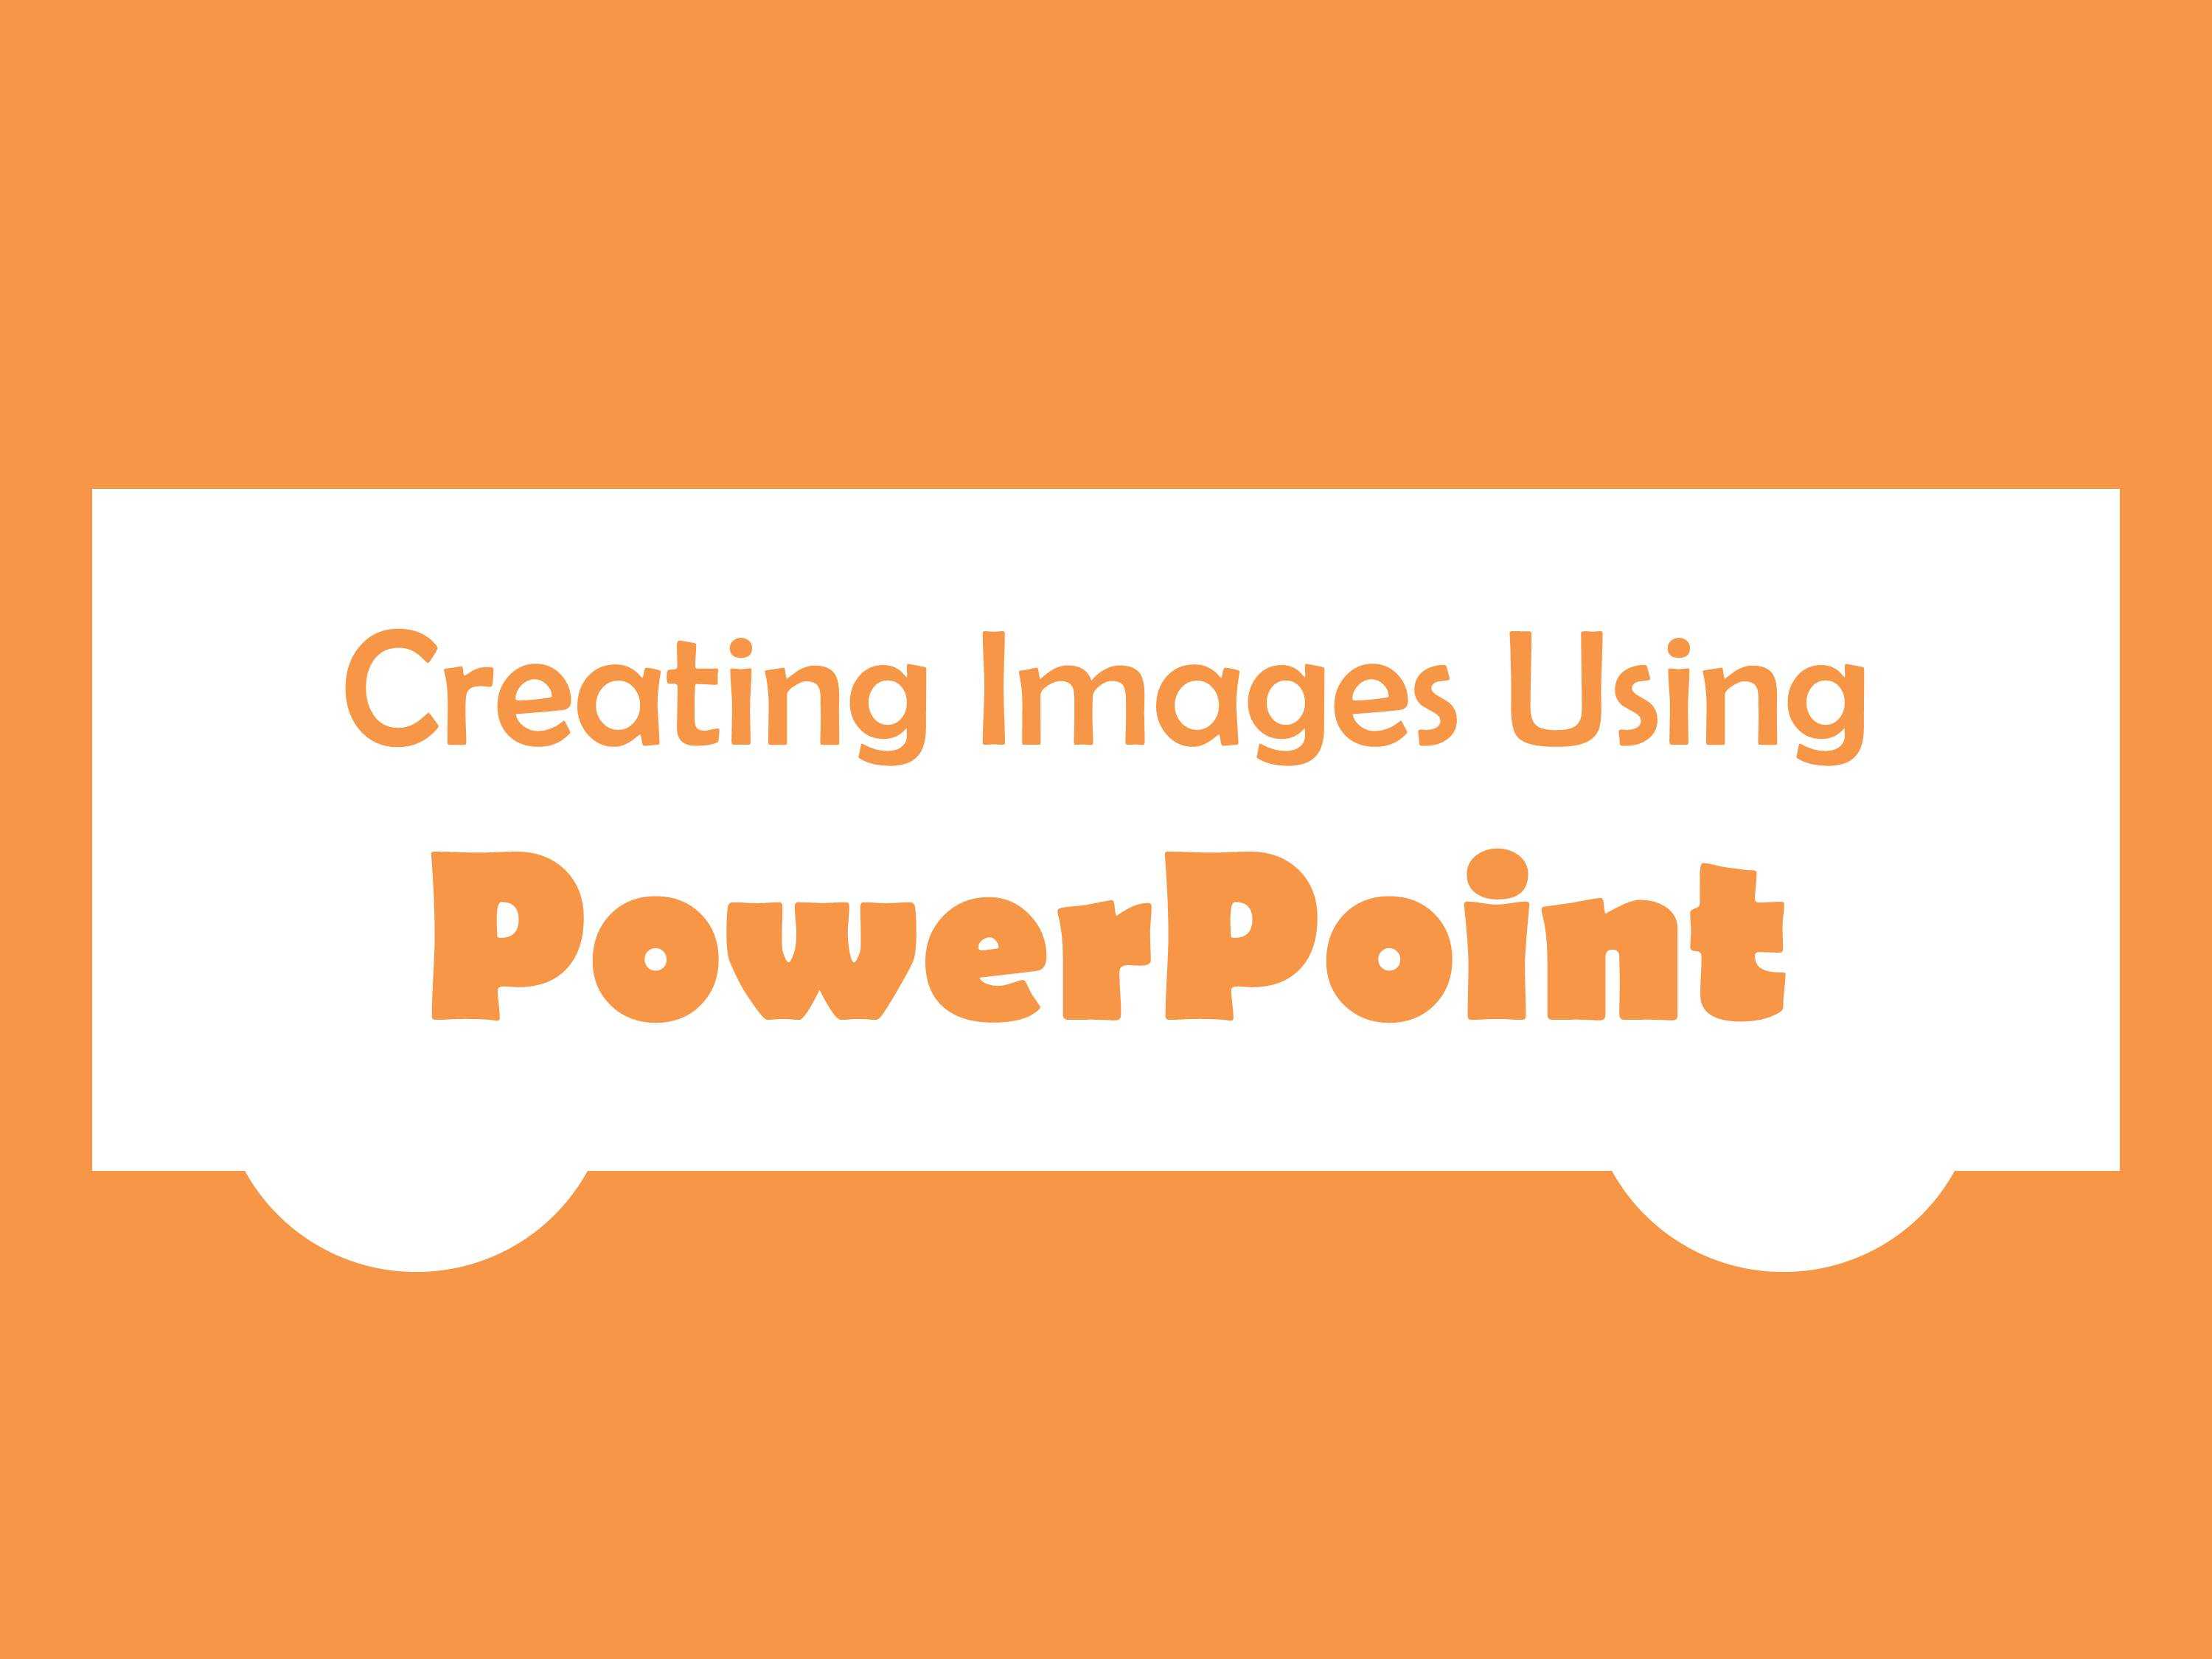
This is how you can create great images for your blog using PowerPoint.
The main thing with PowerPoint is that you do not have to deal with lots of tools. Even a beginner can create awesome images.
So start creating images with PowerPoint. If you are stuck somewhere, you can ask your queries in the comments below.

![How to Set Up Yoast WordPress SEO Plugin [Updated] - Issue with Adding meta description & title in latest SEO Yoast plugin](https://blogger.googleusercontent.com/img/b/R29vZ2xl/AVvXsEgy2bhkLyFcPaMGW-EXe0NGXBlW3ihDy3G3OuXXQi8SOX0e8E-RSfRsHStfyBqp48fi2WhniL9kYY3_GI3UUzfBSUrp-R09FZXGpwId3fRRBQM1sdzfoawiREDSXzrAx5hMYP5ZbQLt3Gmj/s72-c/2016-09-22+at+04-05-55.png)


No comments:
Post a Comment